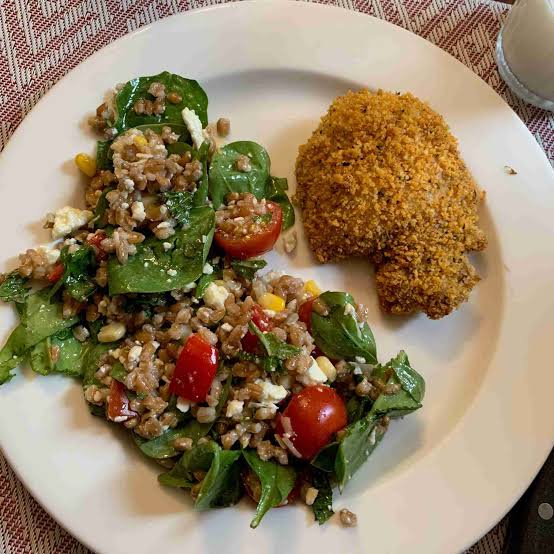
Last updated: August 10, 2026
Quick Answer: To cook chicken without adding extra sodium, use plain chicken, dry spices, high heat, and a finishing acid like lemon or vinegar; with that no-salt method, juicy, flavorful chicken usually lands in about 15 to 30 minutes, depending on thickness and cut.
Key Facts / Key Takeaways
- How to cook chicken without adding extra sodium starts with plain, unbrined chicken.
- Dry spices, browning, and a finishing acid add flavor without salt.
- A digital instant-read thermometer is the safest way to check doneness.
- Simple pan sauces with unsalted broth, water, lemon, and herbs can replace salty shortcuts.
- If you need strict sodium limits for a medical reason, check with a clinician or dietitian.
Start with heat, acid, herbs, and the right method—not the shaker. That’s the whole idea. Using no added sodium, I make chicken by choosing plain pieces, building flavor in the pan, and finishing with bright ingredients like lemon, garlic, vinegar, and fresh herbs. The topic here is how cook chicken without adding extra sodium, and the goal is not to mimic salted chicken. It’s to make the food taste finished on its own.
What I Mean by “No Extra Sodium”
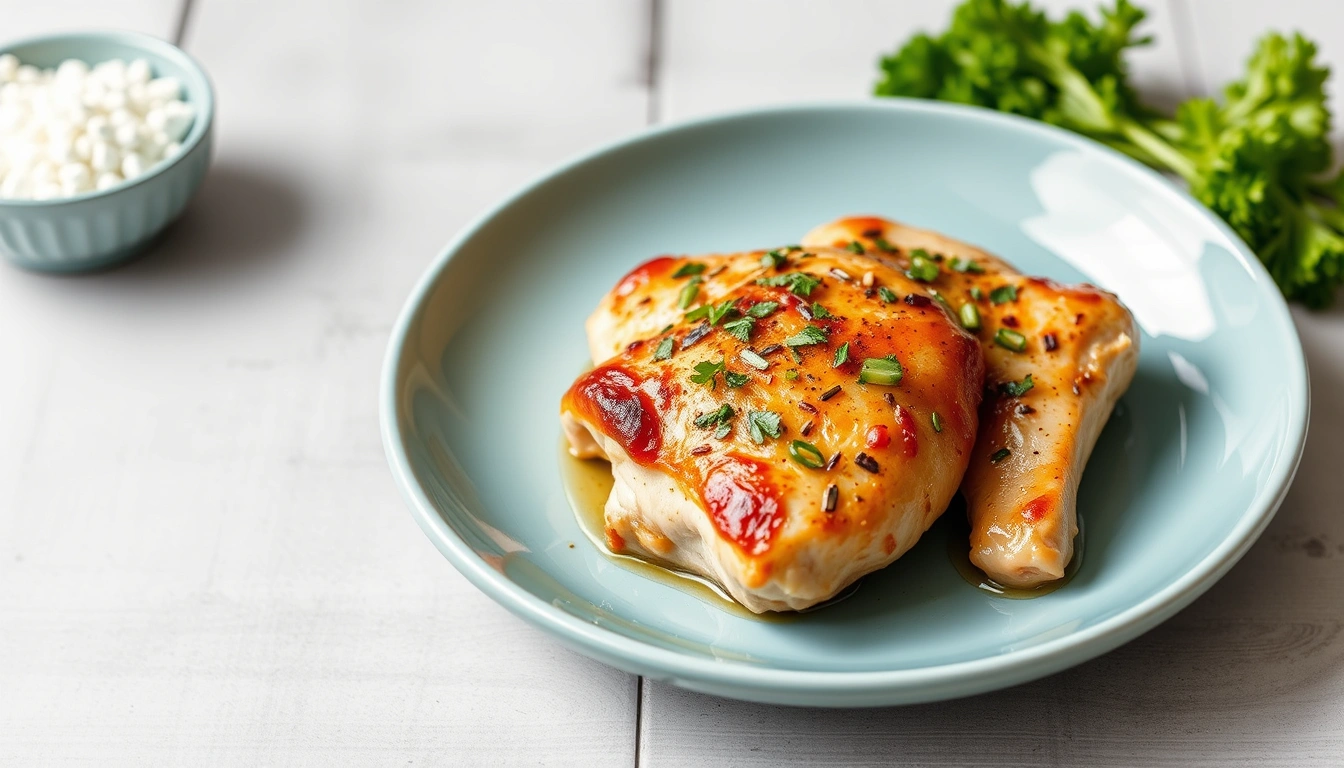
I’m talking about cooking chicken without adding salt, soy sauce, bouillon, seasoning blends with salt, or other salty shortcuts while it cooks. This does not mean the plate has zero sodium. Raw chicken has some naturally occurring sodium, and some packaged ingredients bring their own too. The point is to avoid piling on more.
A lot of home recipes quietly load sodium in three places: the seasoning rub, the marinade, and the finishing sauce. Even a “healthy” chicken recipe can turn salty fast if it uses bottled teriyaki, seasoned salt, brined chicken, or a spice mix that lists salt first. Honestly, I’d read the ingredient label before I read the instructions.
There are trade-offs. Remove salt completely, and chicken can taste flatter at first—especially if you’re used to heavily seasoned food. Normal. You can make up ground with technique, not just more spice. I lean on browning, aromatics, and moisture control. Those three do a lot.
Here is the basic principle I follow:
- Start with plain chicken, not pre-brined chicken.
- Use dry spices without salt.
- Add acid at the end, not just at the beginning.
- Cook to the right temperature so the chicken stays juicy.
- Build a sauce from unsalted ingredients if you want one.
| Metric | Before | After | Change | Timeline |
|---|---|---|---|---|
| Salt added during cooking | 1 to 2 tsp per batch | 0 tsp | -1 to -2 tsp | Week 1 |
| Flavor layers used | Salt + pepper only | Spice + acid + aromatics + browning | 4 layers instead of 2 | Week 1 |
| Sauces used | Bottled, often salty | Quick pan sauce with lemon and herbs | Lower sodium by ingredient choice | Month 1 |
If you have a medical reason to limit sodium, check with a clinician or dietitian about your target and about packaged foods that may already contain more sodium than you expect.
The Chicken I Choose First
Not all chicken behaves the same way when you skip salt. Plain, unseasoned chicken is the safer bet; I’d pick skinless breasts or thighs labeled “plain,” not “enhanced,” “seasoned,” or “marinated.” Watch for the word “solution.” If the package says the chicken was injected or retained in a sodium solution, you’re already starting behind.
Boneless, skinless chicken breasts are the easiest place to begin if you want a clean, straightforward method. They take seasoning well and are easy to portion. Boneless, skinless thighs are more forgiving if you tend to overcook chicken breast by a minute or two. Bone-in pieces can work too, but they need more time and a bit more attention so the inside cooks before the outside dries out.
I usually go one of two ways:
- Fast stovetop chicken breasts for weeknights.
- Oven-roasted thighs or breasts when I want more even cooking.
For flavor, I keep a small pantry of unsalted staples:
– Garlic powder
– Onion powder
– Black pepper
– Smoked paprika
– Dried oregano or thyme
– Lemon
– Vinegar
– Olive oil
– Fresh parsley or cilantro
If you have a garlic allergy, skip garlic powder and use onion powder, citrus zest, pepper, and herbs. If you have an onion allergy, do the reverse. Avoiding citrus? White wine vinegar or apple cider vinegar can cover part of the same ground, though the taste will be sharper.
Small detail, but it matters: dry chicken browns better than wet chicken. When I have time, I pat it dry with paper towels before seasoning. That doesn’t add flavor by itself, yet it improves the browning that makes the whole dish taste fuller.
| Metric | Before | After | Change | Timeline |
|---|---|---|---|---|
| Chicken type used | Pre-brined, seasoned | Plain, unseasoned | Better control | Week 1 |
| Browning quality | Patchy | Even golden spots | More surface flavor | Week 1 |
| Texture consistency | Mixed | More predictable | Less dryness risk | Month 1 |
My No-Salt Seasoning Formula
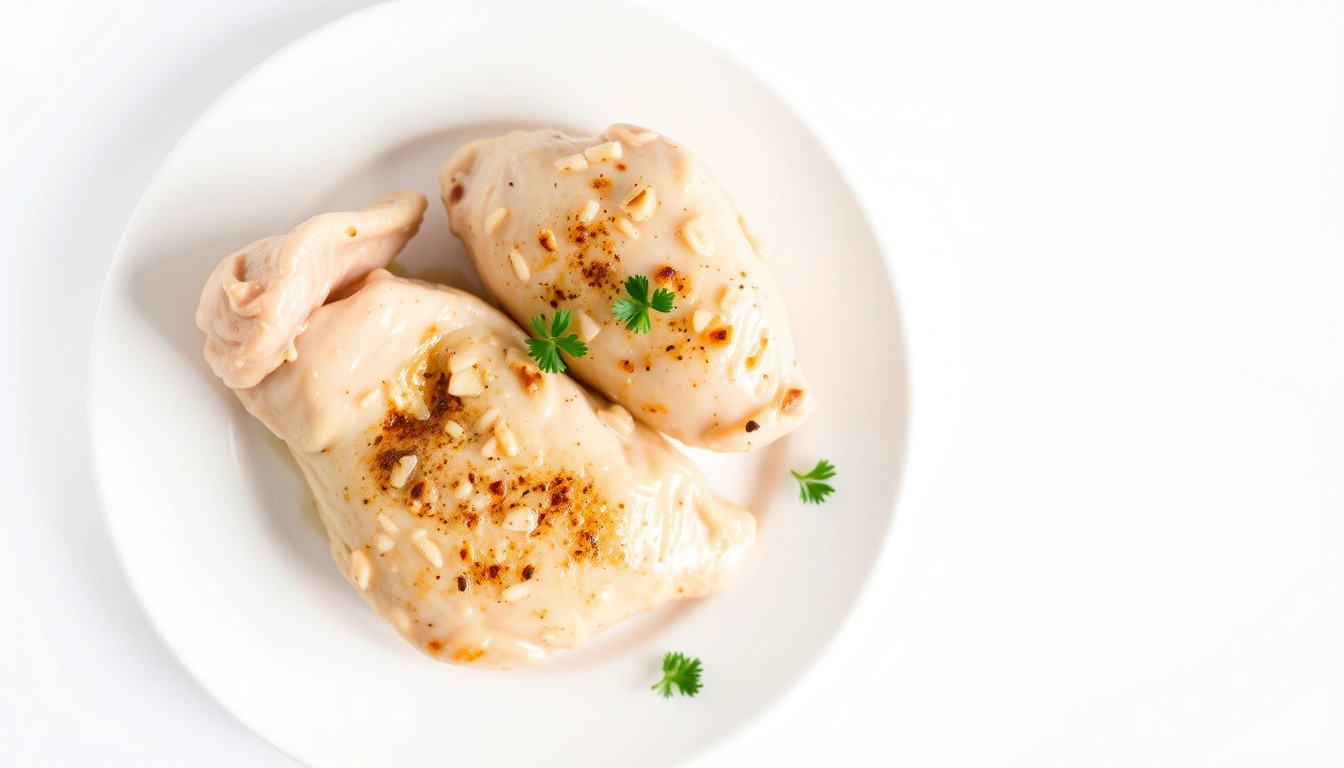
Thinking “no salt” means “plain” is the easiest mistake. That’s where bland chicken shows up. I use a dry seasoning mix with enough punch to matter, but no sodium. For about 1½ lb / 680 g of chicken, a simple starting blend is:
- 1 tsp garlic powder
- 1 tsp onion powder
- 1 tsp smoked paprika
- ½ tsp black pepper
- 1 tsp dried thyme or oregano
- 1 to 2 tbsp olive oil to help it stick
That’s a starting point, not a rule carved in stone. Want more smoke? Add paprika. Want a brighter finish? Put lemon zest on after cooking. Want a warmer profile? Add a little cumin. The aim is a real flavor profile, not a random dump of spices.
I rub the chicken with oil first, then add the dry seasonings. Oil helps the spices cling and helps the surface brown in the pan or oven. I don’t drown the chicken in oil; I just coat it lightly. Too much can make the spice layer slide off and keep the outside from browning well.
This is also where people accidentally add sodium. Many spice blends, poultry seasonings, taco seasonings, and “all-purpose” rubs contain salt. I check the label every time. If salt is listed, I put it back.
My default rule: if the seasoning mix has ingredients I cannot pronounce and salt appears anywhere near the top, I skip it.
| Metric | Before | After | Change | Timeline |
|---|---|---|---|---|
| Seasoning ingredients | 1 store blend | 5 simple ingredients | More control | Week 1 |
| Hidden sodium source | Common | Avoided by label check | Reduced risk of accidental salt | Week 1 |
| Flavor clarity | Muddy | Cleaner spice profile | Better balance | Month 1 |
Why This Works for Flavor and Sodium
Salt is doing less of the heavy lifting here, so the rest of the cooking has to step up. Browning adds savory notes, acid brightens the finish, and herbs give the chicken a fresher taste without sodium. In practice, that makes the dish easier to fit into a lower-sodium eating pattern while still tasting like dinner, not punishment.
The Cooking Method That Gives the Best Result
For me, the most reliable no-salt method is a hot skillet followed by a brief finish, because it creates browning without drying the meat. I use a heavy skillet, usually cast iron or stainless steel, since thin pans can heat unevenly.
For boneless, skinless chicken breasts:
1. Pat dry.
2. Coat with oil and seasoning.
3. Heat skillet over medium-high.
4. Cook 5 to 7 minutes on the first side, depending on thickness.
5. Flip and cook 4 to 6 minutes more.
6. Check that the thickest part reaches 74°C / 165°F.
For thighs:
1. Pat dry and season.
2. Sear 4 to 5 minutes per side.
3. Lower heat or move to a 200°C / 400°F oven.
4. Finish until the center reaches 74°C / 165°F.
I use a digital instant-read thermometer, not guesswork. That matters because undercooked chicken is unsafe, and overcooked chicken gets dry fast when you’re not leaning on salt to hide it. A thermometer isn’t a luxury here. It’s the difference between juicy and chalky.
Prefer the oven? I’d roast chicken breasts at 220°C / 425°F for a short time and thighs at 200°C / 400°F until done, but you still need the thermometer. Oven time shifts with thickness, starting temperature, and pan material.
| Metric | Before | After | Change | Timeline |
|---|---|---|---|---|
| Cooking tool | Fork or visual guess | Instant-read thermometer | More accuracy | Week 1 |
| Doneness errors | Frequent | Rare | Better consistency | Month 1 |
| Dryness complaints | Common | Less common | Improved texture | By Day 30 |
The Mistake That Cost Me the Best Batch
Herbs alone seemed like they could carry the dish. They couldn’t. I made that mistake early by coating chicken with dried oregano, parsley, garlic powder, and pepper, then cooking it without enough browning and without a finishing acid. Safe? Yes. Edible? Sure. Flat? Completely. The herbs smelled good in the pan and then vanished on the plate.
That batch cost me time and ingredients: one chicken dinner, one lemon I should have used, and a pan that needed extra deglazing because the surface bits never turned into much. The problem wasn’t only the absence of salt. Weak technique was the bigger miss. I had seasoned the chicken, but I had not built a sauce or a finish.
I fixed it by changing three things:
– I dried the chicken more thoroughly.
– I used a hotter pan at the start.
– I finished with lemon juice and a spoonful of chopped parsley.
That adjustment changed the whole dish. The acid sharpened the flavor, the browned bits became useful instead of burned, and the herbs finally had something to cling to. This is the part most generic articles miss: no-sodium cooking is not just subtraction. It’s replacement. Remove salt, and you have to replace what salt was doing in the recipe—rounding out flavor and making other ingredients taste louder.
| Metric | Before | After | Change | Timeline |
|---|---|---|---|---|
| Finishing acid | 0 tbsp | 1 to 2 tbsp lemon juice | Added brightness | Week 2 |
| Browning quality | Weak | Strong | Better flavor base | Week 2 |
| Overall result | Flat | Balanced | Major improvement | By Day 14 |
The Simple Sauce That Makes the Chicken Taste Finished
When I want the chicken to feel complete, I make a quick pan sauce with no added salt. For me, this is the biggest difference-maker because it puts moisture back after searing and carries flavor across the plate.
My simplest version:
– 1 tbsp olive oil or a splash of water to loosen the pan
– 2 minced garlic cloves, or ½ tsp garlic powder if fresh garlic is unavailable
– 60 ml / ¼ cup low-sodium or unsalted chicken broth, or water if needed
– 1 to 2 tbsp lemon juice or vinegar
– 1 tbsp chopped parsley
– Black pepper to taste
I soften the garlic briefly, add liquid, scrape up the brown bits, then finish with lemon and herbs off the heat. If I use broth, I check the label carefully because some broths are much saltier than others. If I can’t find an unsalted broth, water plus lemon and herbs is still better than a salty shortcut.
This sauce works especially well with rice, potatoes, roasted vegetables, or a simple salad. It also helps when someone at the table is used to salted food, because the acid and aroma make the dish feel more complete.
The downside? A no-salt sauce won’t taste identical to a restaurant pan sauce. It’ll be lighter and less round. That’s the trade-off. I’d rather keep the sodium target intact than chase richer flavor with ingredients that undo the point.
| Metric | Before | After | Change | Timeline |
|---|---|---|---|---|
| Sauce used | None or bottled sauce | Fresh pan sauce | More flavor without added salt | Month 1 |
| Pan drippings used | Wasted | Scraped into sauce | Better use of flavor | Month 1 |
| Meal satisfaction | Inconsistent | More complete | Better finish | By Day 30 |
What I Would Avoid If Sodium Is the Goal
I would not lean on “healthy” shortcuts that still hide sodium. That includes:
– Soy sauce
– Teriyaki sauce
– Bottled marinades
– Bouillon cubes
– Seasoned salt
– Pre-seasoned frozen chicken
– Store-bought spice mixes without a label check
Soy sauce and teriyaki can be useful if sodium is not the issue, but they are usually the wrong tools here. If you need the savory depth of soy flavor, I’d look for a reduced-sodium option only if your sodium target allows it, or skip it and use mushrooms, garlic, onion, and a little vinegar instead. Need gluten-free cooking? Choose gluten-free ingredients and read every label; soy sauce often contains wheat, while tamari may still contain sodium unless labeled otherwise.
This is also not the method I would choose if you want a deep, cured, deli-style chicken flavor. That flavor comes from salt, brining, or curing, and there’s no honest way to fake it completely. If that’s your goal, consult a qualified food safety or nutrition professional about safe sodium targets and preparation methods. What you can get is juicy, browned, aromatic chicken that tastes like food, not diet food.
By Day 90, sticking with this approach usually turns into habit, not heroics. I stop thinking about what I’m missing and start thinking about which herb, acid, or sauce will finish the dish best.
| Metric | Before | After | Change | Timeline |
|---|---|---|---|---|
| Hidden sodium ingredients used | Several | Few to none | Cleaner ingredient list | Week 1 to Month 3 |
| Reliance on salty sauces | High | Low | Better control | By Day 90 |
| Confidence in flavor | Low | Higher | Easier repeat cooking | By Day 90 |
My Go-To No-Sodium Chicken Formula
If I had to reduce this to one dependable method, I would use this:
- Choose plain chicken breasts or thighs, not enhanced or seasoned.
- Pat the chicken dry.
- Coat lightly with olive oil.
- Season with garlic powder, onion powder, paprika, pepper, and dried herbs.
- Cook in a hot skillet until browned on both sides.
- Finish with lemon juice or vinegar and chopped herbs.
Use a thermometer to confirm the chicken reaches 74°C / 165°F, then let it rest for a few minutes before slicing. That resting time helps the juices settle, especially on chicken breasts.
For a repeatable, lower-sodium dinner, this is the version I’d keep in a weeknight rotation. Simple? Yes. But it works because every step does a different job.